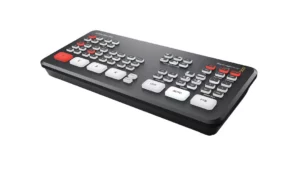
The video podcast landscape is both intimidating and inspiring. It is easy to feel overwhelmed with the gear, tech, and path that’s right for your podcast while also seeing so much possibility on the horizon. YouTube Podcasts, reels, stories, shorts, TikTok … these days it seems like all podcasters HAVE to add a visual element to their podcast.
Do audio podcasters have to become video podcasters? Do video podcasters need audio-only podcasts? This article doesn’t dive into how-to-start a podcast, but zeroes in on two common paths to video podcast creation.
Cumulus Media And Signal Hill Insights’ Podcast Download — Fall 2022 Report stated that nearly a third of the podcast audience prefers to “actively watch” a podcast with a video component. While this data represents the listener’s preference and not actual behavior, it does illustrate that not all podcast audiences want an audio-centric listening experience.
Your audience loves listening to you, it’s reasonable to conclude that seeing you may enrich their listening experience.
Getting comfortable hearing your voice is one thing; getting comfortable behind multiple cameras or with new video podcast software — is a whole new podcast challenge.
Paths to Video Podcast Creation:
Powerful editing apps, more affordable video podcast equipment, and AI-enhanced content creation are expediting video podcast creation opportunities. It is no wonder many creators feel compelled to experiment with video.
Ultimately, the path to creating video podcast episodes should reflect your goals as a creator and be mindful of your audience. Video podcasting can be a great way to find new audiences, but it is not a standalone solution for skyrocketing audience growth.
Path One: Audio-first podcast creation to create video podcast output for YouTube.
Path Two: Video-first podcast creation to have both video and audio podcast content.
BONUS: Video podcast editing tips and video podcast equipment checklist for every budget.
The examples below allow you to compare the YouTube video podcast experience to the audio-only podcast episodes. The best advice, learn from other podcasters.
Did you stay engaged with the video podcast version because of the charisma of the on-screen podcast host? Did you find yourself drifting away and only listening? Some people use YouTube for listening as much, if not more, as they do for watching content.
Consider your approach and audience carefully. If you have a thriving audio podcast, offering a video podcast version on another platform could dilute your podcast download stats while growing video views. It’s worth a minute to consider any impacts creating a video podcast might have on current or future podcast monetization strategies. Note that video podcasts are also larger to store and typically require a more expensive podcast hosting plan.
Why Create a Video Podcast or Video Option?
If you are currently considering video podcasting but haven’t gone deep into why, here are some reasons it might make sense for your podcast.
- Reach new audiences on video-only platforms.
- Offer exclusive b-roll recording content as premium podcast content.
- Appeal to a new market who prefers video to audio podcasts.
- Create podcast marketing content from longer-form video podcast episodes.
- Leverage any advantage your content may have when presented as a video podcast.
Examples of podcasts that may benefit from video include:
- Podcasts that demonstrate how to cook or make something
- Product or movie reviews where seeing may help the audience
- A podcast interview with someone famous or recognizable
Adding a video element also allows podcast enthusiasts to consume their favorite shows in their favorite medium — it’s all about options and availability.
Apple Podcasts, Spotify, and YouTube all support video podcasts.
Video Podcasting Nostalgia: One of the earliest video podcasts was TikiBar TV (circa 2005), back in the day when Apple Podcasts was iTunes and Google Podcasts didn’t even exist. Video podcasts were here long before some of today’s best video podcasts.
Path 1: Audio-FIRST Video Podcast Creation
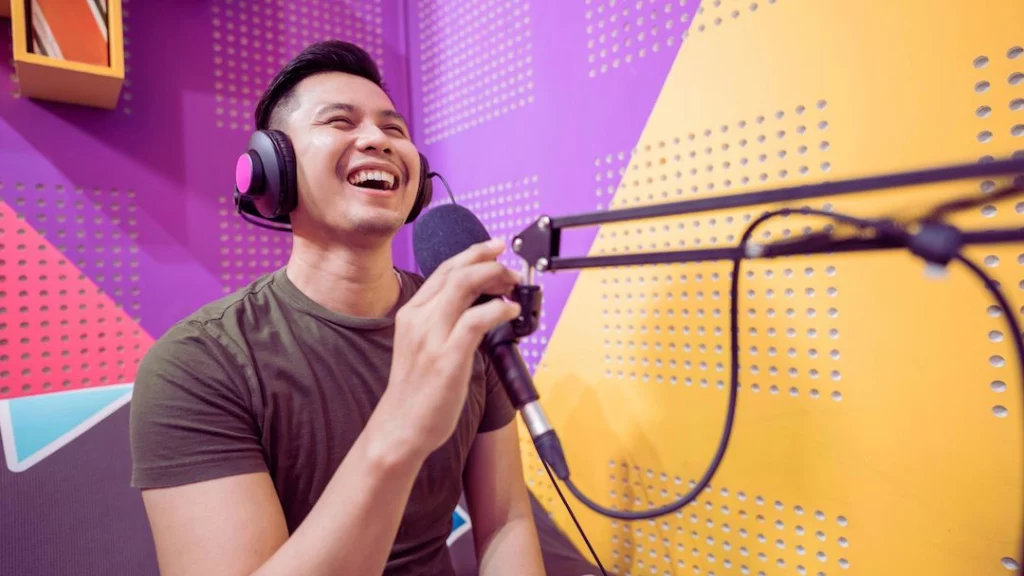
This option is the path of least resistance for a podcaster who wants to convert an audio podcast into a video podcast which can then be published on YouTube.
To publish audio to YouTube, you don’t have to record video at all. In fact, you don’t even need any video recording equipment or video recordings to do it.
Good audio quality + digital artwork will do the trick.

Automated Podcast Publishing to YouTube
A podcast platform like Libsyn can combine your audio with a static image to create a video file perfect for places like YouTube. If you have the Libsyn YouTube connection setup, Libsyn will combine these elements for you automatically and publish to YouTube.
You can make a video podcast episode without new visual elements or recording software — hurray!
Why are we cheering? YouTube is one of the most popular video platforms on the internet. It has more than two billion monthly active users, making it an ideal platform for podcasters to showcase their audio files as video content.
The Official Libsyn Podcast: The Feed, seen below, is published on YouTube using this connection. Libsyn provides a place to load widescreen artwork that serves as the static image, spanning the entire audio recording for your video podcast. No fancy video editing software is needed — just your audio file, image, and Libsyn
Widescreen Show Artwork Requirements: Your artwork must measure 1920 by 1080 px and be at least 72 dpi. Widescreen episode artwork is typically a variation of your show artwork with elements that distinguish each episode so when they are viewed in a video playlist, the topics can be easily seen.
Publish Your Audio Podcast to YouTube Using Libsyn
In this video, Brian Cottington walks you through Libsyn settings for saving your audio podcast to video for YouTube. He also explains how to optimize your YouTube Studio with tags so that when you publish an episode to YouTube, it becomes searchable and reaches the largest audience possible.
DIY Podcast Publishing to YouTube
While Libsyn completely automates the process of combining the static image and your audio into a compatible video file, you CAN do this on your own if your podcast host doesn’t offer this service.
Simply import your podcast audio file into a video program like iMovie (for Apple folks), VideoPad, or DaVinci Resolve (for Microsoft, Linux), create a widescreen image, and combine the two.
The process feels similar to building short-form video content for Instagram or TikTok in the platform or using an app like CapCut. Rather than an image or video + trending music, you will pull in your widescreen artwork + podcast audio.
The video editing programs mentioned above feature a video track and multiple audio tracks beneath it. It’s as simple as dragging your widescreen artwork to the video track and then your podcast audio to one of the audio tracks. Most design programs have a YouTube file output option, so there is no guesswork. Our video podcast editing tips video shows you what this looks like in Adobe Premiere.
If you want to offer your podcast on YouTube, we recommend starting simply. Obviously, with the manual option mentioned above, you could add different images or try adding video elements, but if you are doing this for every podcast episode or many podcasts, we think simple is the best way to go.
YouTube Video Podcast Channel Creation
If you have the Libsyn Advanced Stats package, your YouTube stats will also be pulled into your Libsyn Stats overview page.
Note that YouTube also offers various tools to help podcasters grow their audience, such as analytics, audience retention graphs, and comments sections. So, if you want the big picture of how your video podcast is doing on YouTube, it’s right in your Libsyn stats. If you want the details (watch hours, shares, etc.), visit your YouTube video podcast channel.
How to Create a YouTube Channel
First things first. You need a YouTube Channel to set as a destination for the automated video podcast publishing workflow mentioned above.
The following steps are constantly being tweaked, so please reference this article from YouTube and our own YouTube connection guide when getting started.
- Create An Account
- If you don’t have a Google account, you will need to create one before creating a channel.
- Go to YouTube’s homepage and select “Sign in.”
- Click “More” and then “Create account.”
- Supply a username and password.
- Select “To manage my business.” This creates a brand account that allows you to customize your YouTube channel easily. Plus, it allows access to everyone, unlike a personal account.
- Sign In
- Log into your YouTube account with your username and password by clicking “Sign in” at the top right-hand corner of the YouTube homepage.
- Go To Settings
- Select your profile icon in the top right-hand corner. A drop-down menu will appear.
- In your settings overview, choose “Create a channel.”
- Select Channel
- Select “channel” to add your YouTube channel name.
Create Your YouTube Channel Artwork
If you use Canva, they have beautiful channel templates for you to make your own artwork.
- Provide Channel Art
- Channel art is important for branding purposes. Most podcasters choose their show cover art, which makes sense.
- To upload a banner image, hover over the banner image so that the “Add channel art” option appears.
- The recommended image size is 2,560 x 1,440 pixels. Make sure that you choose a cover image that will work effectively across all screens.
- To help you with formatting layouts across platforms, you can use YouTube’s designated Channel Art Template (PNG and PSD formats), and Canva offers several easy design options.
- Add a Channel Icon
- You will need to be on your desktop to add a profile icon. To select one, hover over the profile image for the “Edit channel icon” to appear.
- Select a brand logo that works well at small resolutions.
Google’s recommended guidelines are:
- JPG, GIF, BMP, or PNG file (no animated GIFs)
- 800 X 800 px image (recommended)
- Square or round image that renders at 98 X 98 px
- Do not upload pictures containing celebrities, nudity, artwork, or copyrighted images since this violates Google’s Community Guidelines.
Once you’ve gotten this far, if you are a Libsyn customer, you can set up the YouTube connection for your podcast, OR you can continue loading your own episodes directly.
Publish Your Video Podcast to Youtube
If you have combined a static image and your audio in a third-party video tool like the ones mentioned above, now is the time to publish.
Follow these steps to add your first video:
- Sign into your YouTube account.
- Select “Create a Video or Post” at the top right-hand corner of your screen.
- Choose “Select files to upload” and upload your video. Remember to select the “Public” option from the drop-down menu so everyone can view your content.
Add your video description while the video is uploading. This includes a title (maximum length is 100 characters) and description (up to 5,000 characters in total).
Path 2: Video-FIRST Creation + Audio
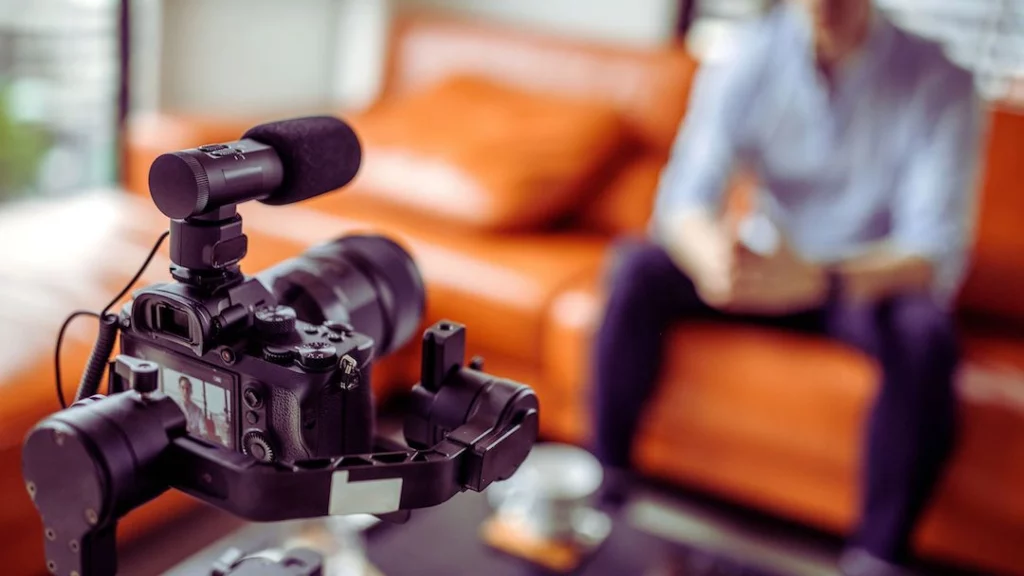
If a static image recording is not the video podcast you had in mind, you can start with a video-first approach that will get you both an audio version AND video output.
Why would you want both? Most podcasts are still audio, for a good reason; people tend to listen while doing other activities and are not actively looking at a screen while listening. Even if you start with video first, we recommend not abandoning the idea of audio for your podcast. You may want the audio from a remote interview for bonus content later.
But that doesn’t diminish the fact that many people prefer video content, actually SEEING who they are listening to — gestures, facial expressions, reactions — all of which provide a more immersive, sentient story experience.
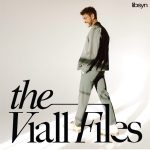
Remember Lore and Viall Files shared in the beginning of this article ?
While you may be thinking, “Who wants to see talking heads?”, video podcasting can make your audience feel like you are in the same room as you and your co-host.
Nervous about getting behind the camera? Check out this video with the folks from Ecamm, an all-in-one video tool great for video podcast recording.
They jump right into common fears about video podcasting and creating video content, and offer helpful suggestions to combat them.
Using a service like Ecamm, the video conferencing software Zoom, or Riverside will all allow you to export a video and audio file of your video recording. The video podcast software mentioned above can also be the solution for remote interviews where you want to add video for marketing purposes. Each captures video and audio, but remember, an internet connection can disrupt the recording software and quality, so recording locally as a backup is still important, if possible.
Video Podcasting Gear Checklist

The expense of creating a video podcast effectively is a worthy concern.
If you are in the early stages of video podcasting, you may just be using a webcam or your phone. At some point, you may consider buying video equipment and learning video production. That’s a lot.
A middle step might be to consider trying a boutique podcast recording studio to record a few episodes.
A studio has the recording space, equipment, and post-production experience to help you produce a top-quality video podcast without investing thousands of dollars in well … space, equipment, and video editing.
This approach creates more opportunities to experiment with video equipment, capture multiple angles, create fun edits, and get b-roll footage. While it will still cost you some money, it may help you feel more comfortable with the process overall.
Ready to jump right in and purchase at least one camera for your video podcast? Doc Rock has some Video-First podcast gear setup tips.
Video Podcast Gear Recs from Brian Cottington
We also asked Brian Cottington, a Post Production & Media Professor and Libsyn’s Video Designer & Editor, to provide some video podcast gear recs at varying budget levels.
All involve investing in an external microphone. Even when you record video, it’s no good to have poor sound. Video doesn’t mean abandoning audio quality.
$ minimal investment video podcast gear
Invest a little in lighting, headphones, and a mic. This is a great little setup, even if you are just testing a recording of yourself for social media platforms and marketing content.
- Video Capture
- The camera on your laptop.
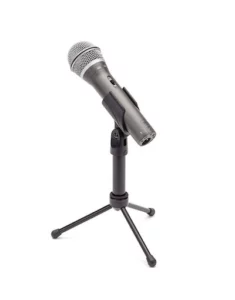
- USB External Microphone under $100
- Lighting under $40
- Headphones under $20: (for on-cam work)
- mee audio m6 wired earbuds — these sleek, clear headphones ensure you can hear yourself but are discreet. It’s ok if you wear something that can be seen as well; that is up to you.
- Free Software :
- OBS Studio (For Recording/Streaming)
- VDO.Ninja (For Remote Video Podcasting)
$$ medium investment video podcast gear
Here we focus on slight upgrades to video quality, lighting, and headphones but keep the same mic recommendation.
- Video Capture
- Your Phone (Android or Iphone) + Your Computer
- App Needed to Connect Your Phone to Your Computer
- On Mac use a continuity camera
- On PC – Use The Camo App
- USB Microphone
- Better Lighting
- Headphones
- Software Free:
$$$ good pro video podcast gear
If you had a stunning video podcast and b-roll footage in mind, you might want to consider a bigger upfront investment. The video quality will be noticeably better with this gear.
- Capture Video
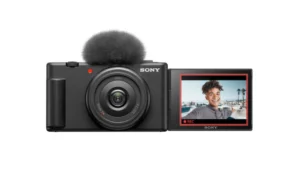
- DSLR Camera – Sony ZVF1
- Capture Card For Camera – Elgato Cam Link 4K
- Better Mic
- Rode PodMic USB
- Desk Boom Arm – Rode PSA1
- Better Light kit
- Key light- GVM 100W with softbox
- Backlight accents – 2 pack GVM 680RS
- Headphones
- Software
$$$$ high roller, multiple cameras, multi-talent recording gear
This is for the folks who are not reliant on remote interview recording tools or multiple webcams and want unique video elements of multiple guests and talent, all captured in one home studio or space.
- Capture Video
- Multiple cameras
- Camera Switcher/Capture Device
- Pro light kit
- Better Mic
- Lav mic system (optional if you do not want mics visible)
- 2-person setup – RODE Wireless Go II
- More than 2 people – Sennheiser XSW-D LAVALIER SET
- Lav mic system (optional if you do not want mics visible)
- Headphones (pro-level discrete monitor)
- 4-channel mixer with line out
- Software
These equipment checklists are a great place to start, but video podcasts have many variables unique to the creator. Always take the time to read reviews and talk to other podcasters creating the same kind of video content you have in mind. You will find a helpful community of people who can likely save you some cash.
Video Podcasting Editing Tips
Just like audio content, your video podcast will likely need some editing. The video below covers the video-first workflow approach to editing to get audio and video versions of your podcast.
You can use your favorite video editing software (we like Adobe Premiere Pro and Davinci Resolve). Both are cross-platform, and the Davinci Resolve software tool is free. Use these to cut scenes, add graphics, stock footage and special effects, and fine-tune your video podcast.
Then, pull the audio file into something like Audacity or Adobe Audition (both are cross-platform) for further audio refinements like noise reduction and other advanced editing processes.
We recommend first processing your audio files to remove noise, applying EQ, and overall cleaning up each audio track. From there, bring both your audio and video files into your video editor of choice and edit your show for content.
Clip out tangents, stutters, and anything that will pull attention away from your audience. The goal is to create a video podcast that matches the content of your audio-only podcast.
All about Balance
In all cases, the effort is to balance audio and video. Brian recommends prioritizing audio quality over video if forced to compromise.
“People are far more forgiving of lighting or a slight blur than they are of bad audio.”
Have you ever stopped watching a movie because the audio was off? Yep, it’s no fun.

Start Small with Video Podcasting & Learn
Whether you’re interested in adding a simple video element to your workflow or creating an entirely separate or new video podcast RSS feed, the world of video podcasting is exciting, to say the least.
Video is particularly important to social media users and platforms. As a test for your listeners, consider recording yourself actually recording podcast episodes and post these videos on your favorite social media platforms. Experiment with tools like Headliner for audiogram creation. See how your audience reacts (they might love seeing your creative process) and see how YOU feel about being on camera.
Video podcasting does take time to master and making some small investments in video podcast equipment may help you feel more comfortable.
As we said earlier, Libsyn supports both video and audio podcasting and we make it super easy to switch your podcast to Libsyn. So, if you are thinking you want to start a video podcast but aren’t sure, you have the option to stay with audio. And then when you’re ready …
Once you get started, remember to keep trying new things, learning, and listening to your audience. If they enjoy watching you, they’ll let you know and the proof will be in your audience’s growth.

